Creating and Uploading New Documents
With the Laserfiche app, you can add
To create a new document
- Browse to the folder you want to create a new document in.
- Press the
 in the app bar at the bottom
- Press the document name at the top of the screen and type a new name. Type the desired text inside your blank note, and use the formatting tools at the bottom to edit the text.

Editing Shortcuts:
- Bold: CTRL + B
- Italic: CTRL + I
- Underline: CTRL + U
- Increase Indent: TAB
- Decrease Indent: SHIFT + TAB
- Undo: CTRL + Z
- Redo: CTRL + Y
Note: If the cursor is at the beginning of a line of text, pressing TAB will increase its indentation. If the cursor is amongst the text, pressing TAB will insert a space at its specific position.
- In the app bar at the bottom press:
- Fields to assign a template or fields to the note.
- Options to generate searchable text.
- Location to define a repository location and volume or share the note with another application.

- When finished, press the check mark at the top right. To cancel, press the X at the top left.
You can take photos with your device’s camera and upload them into a new imaged document.
- Before capturing a document with the Laserfiche app, choose between Photo Mode and Document Mode. By default you will be in Photo Mode, but the last mode used to capture a document will be used the next time you take a photo.
Photo Mode
- In the folder browser, press the Add button
 in the bottom right. In the Add Items dialog box, press Take Picture.
 - You will be in Photo Modewhen the top of the camera screen displays Photo. If Document appears instead, press it to get to Photo Mode.
- Press the grid button in the upper left to display horizontal and vertical lines to help you compose the photo, then press the bull's-eye button to take the photo.
- Photo mode allows for Selfie mode by using the front-facing camera. To turn this feature on, click the camera
 in the upper-left corner of the screen.
Note: When using the Laserfiche app to take a picture for the first time, you may see the following banner: Laserfiche Would Like to Access the Camera. Press OK.
- You can take multiple pictures to create a multi-page document. Press the X to close the camera view once you have captured the documents you wish to capture.
- Press the
- To add another picture to the previous picture, press the Add button
 . Press Add Existing Photo to add a photo from your device's gallery. Press Add New Photo to take a picture with your device to add to the document.
 Tip: You can create a document made up of existing and captured photos. For example, press Add Existing Photo to select an existing photo as one page of a document, then press the Add button and select Add New Photo. Take a new photo for the second page of the document.
-
- Depending on your connection speed, uploading an imaged document may take some time.
Note: If the document's parent folder does not have a default volume, and if a default volume was not configured for the Laserfiche app, you will be prompted to specify a volume for the document at this point.
Note: To upload an image taken with the camera, turn on Location Services so Laserfiche has access to its geographic location (if geotag fields are enabled). You must also allow access to the device's camera.
You can upload photos from your device’s gallery
Note: To allow access to the photo gallery, press Settings from the home screen, press Privacy, and then press Photos. Ensure the toggle next to the Laserfiche app is in the On position.
- To upload a photo from your device's gallery
- Browse the device's gallery for the image you want to upload to your Laserfiche repository.
-
- You can edit, sign, add fields to, OCR, compress, add another image to, change the location of, delete, or share the document. Edit the image to your liking, then press the check mark in the top right corner to name and upload the document. Press the X at the top left to cancel the image edits.
- If an administrator has the Document location option enabled on the Laserfiche Mobile Configuration page, a map with the document's location will be displayed before uploading. The Location description will be extracted from the document's EXIF data. You can change the description to your liking. If uploading multiple images, you can choose which location you want to associate with the document. When finished, press the check mark in the top right corner. The Location description cannot be changed after you have confirmed the location and upload.
Note: If the document's parent folder does not have a default volume, and if a default volume was not configured for the Laserfiche app, you will be prompted to specify a volume for the document at this point.
Do one of the following to upload an electronic file
- OneDrive/OneDrive Business (Web): If an administrator has configured the OneDrive import service on the Laserfiche Mobile Configuration page, users will be able to directly import documents from OneDrive without having to select the OneDrive app and navigate to the document via the third-party app. The OneDrive app does not have to be installed.
- Google Drive (Web): If an administrator has set up the Google Drive import service on the Laserfiche Mobile Configuration page, users will be able to directly import documents from Google Drive without having to select the Google Drive app and navigate to the document via the third-party app. The Googe Drive app does not have to be installed.
Note: When uploaded from Google Drive, Excel files will be saved as PDFs.
- Photos and Videos
- Browse the device's photo gallery to upload an image or video as an electronic file, retaining its original file type.
Note: If the original file type is not retained, see the Troubleshooting topic.
- Browse the device's photo gallery to upload an image or video as an electronic file, retaining its original file type.
- Browse
- Browse to the file and press Open.
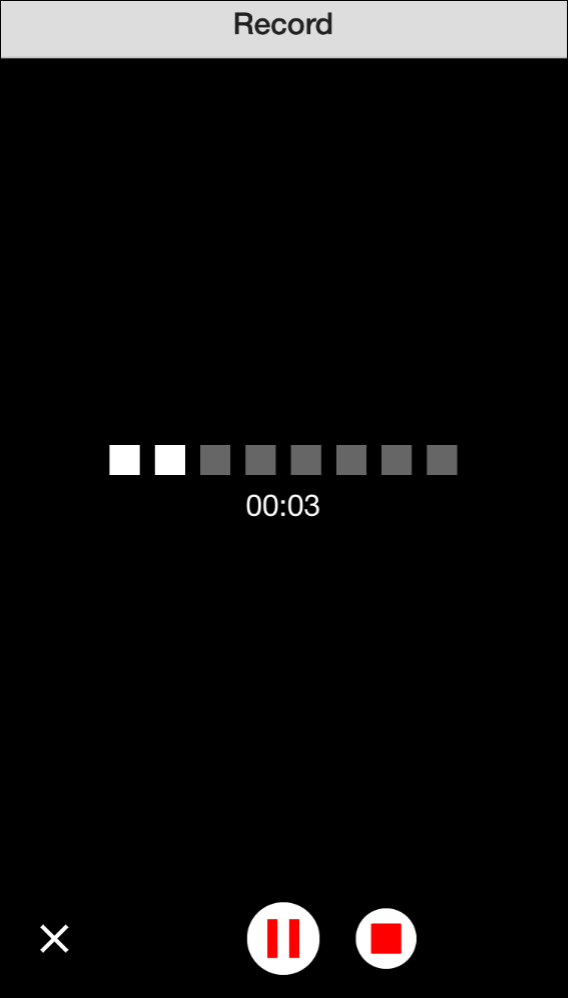
- Press the Record button to start recording.
- Press the Pause button if you want to pause the recording. Press the Record button again to resume the recording.
- Press the Stop button to end the recording and preview it.
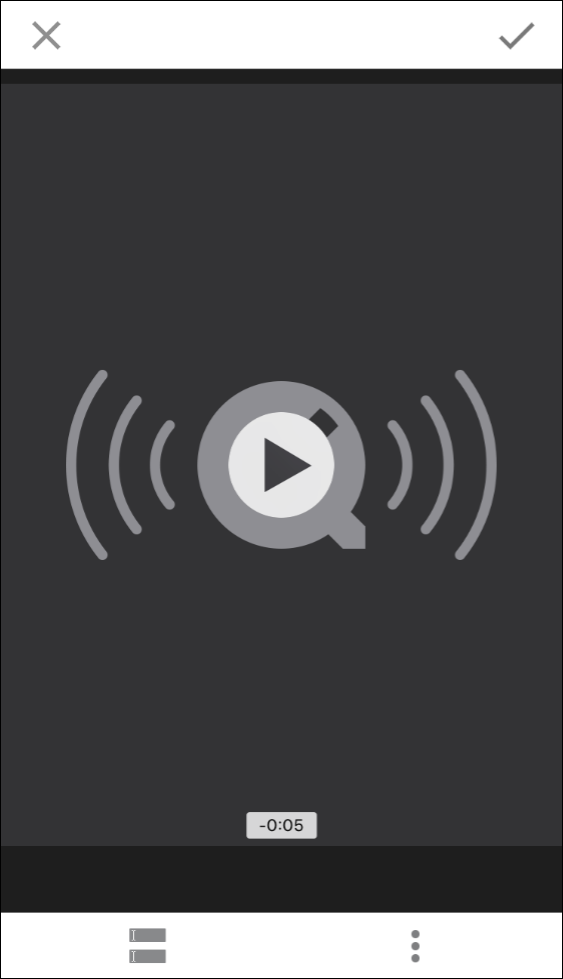
Once you have ended the audio recording, you will the option to preview it, discard it, or save it to Laserfiche.
- Press the Play button in the preview pane to preview the audio recording.
- Press the Fields button to add a template and/or fields to the audio recording.
- Press the More button to define a repository location for the audio file or to share the file to another application.
- Press the check mark to name the file and upload it to the repository.
- Press the X to discard the recording.
You can share audio files from other applications to Laserfiche. For example, if you record an audio file with the Voice Memo app on an iOS device, you can send that file from the Voice Memo app to Laserfiche.
Note: The Record Audio feature is not supported on the Google Pixelbook.
To upload a document directly from another app
| For further help or feedback, please see the Laserfiche Support Site. | © 2019 Laserfiche. All Rights Reserved. |