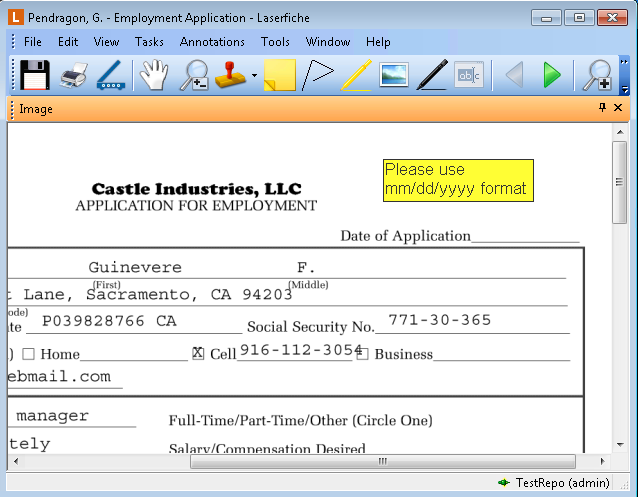
A text box can be placed anywhere on an imaged document. Once placed, you can view or edit its text; change its color; move it to a different location on the image; view its history, creator, creation date, and last modification date; mark it as protected or private; or delete it. ![]() Show me.
Show me.
To add a text box
 , select Text Box from the Annotations drop-down menu, or right-click the image, point to Add Annotation, and select Text Box to switch to Text Box mode.
Note: When editing the text in a text box, you may see some or all of the following commands in the context menu: Right to left Reading order, Show Unicode control characters, Insert Unicode control character, Open IME and Reconversion. These are Windows-standard commands relating to the Input Method Editor (IME). See Working with the Input Method Editor on MSDN for more information.