Organizing and Customizing Your Toolbar
You can configure your  Folder Browser and Document Viewer toolbars so that the buttons and toolbars have specific appearances and behaviors. You can also add multiple toolbars to the Folder Browser and Document Viewer.
To customize toolbars, create custom buttons, edit buttons, or create custom keyboard shortcuts, see the Customization dialog box. Or, learn how to add or remove buttons from the toolbar.


To change a toolbar's position
- Hold your cursor over the vertical dotted line
 to the left of the toolbar you want to reposition until it turns into four arrows.
- Drag the toolbar to its new location.
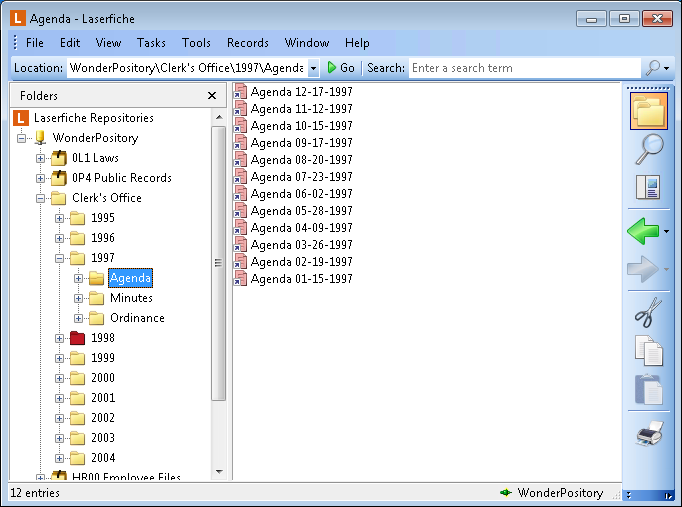
- If you drag the toolbar to the left, right, bottom, or top side of the Folder Browser or Document Viewer, it will attach itself to the frame.
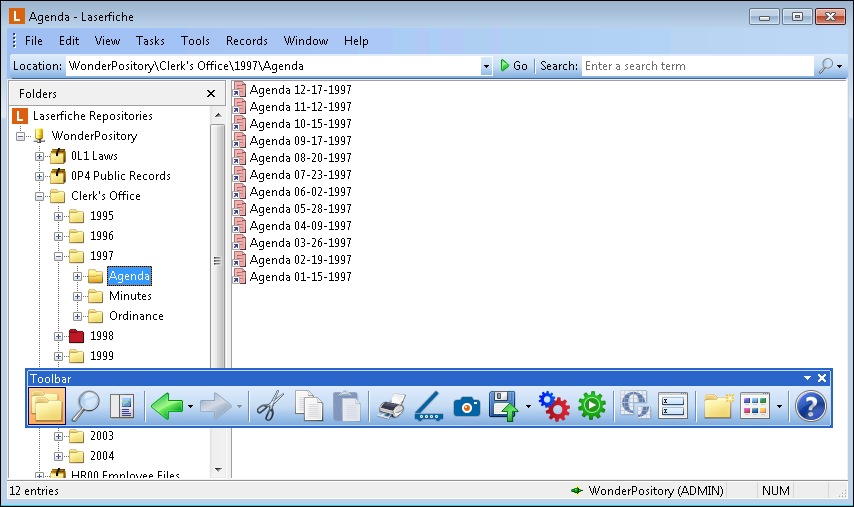
- If you drag it to any other part of the window, the vertical dotted line disappears, and the toolbar will float on top of the Folder Browser or Document Viewer. To move a floating toolbar, click the title menu of the toolbar and drag.
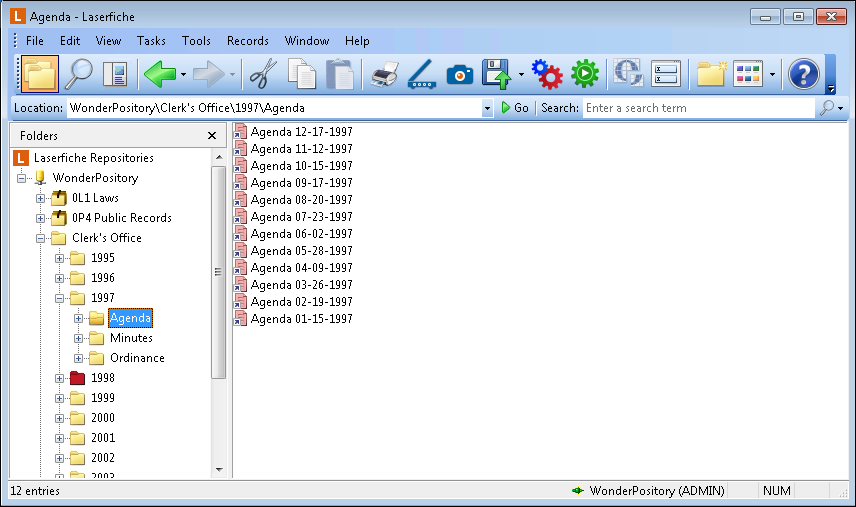
Click one of the following links
to see the toolbar in different positions in the Folder Browser.
Two toolbars
Create, hide, rename, reset, or delete toolbars
You can specify which toolbars appear in the Document Viewer and Folder Browser and their names.
- Open the Customize dialog box either from the Toolbars: General node of the Options dialog box or by right-clicking a toolbar and selecting Customize.
- Ensure the Toolbars tab is selected.
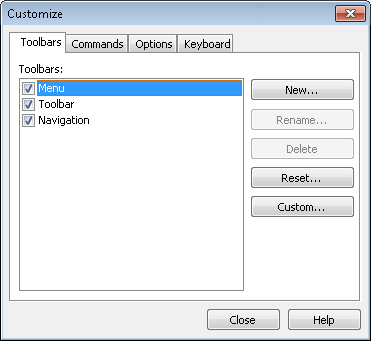
- Do one of the following
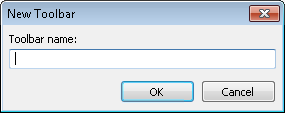
- Create a new toolbar: Click the New button, type a name for the toolbar in the New Toolbar dialog box, and click OK. The new toolbar will automatically appear along the top of the Document Viewer or Folder Browser. You can add buttons to the toolbar by clicking the blue bar on its right. More info.
- Hide a toolbar: Clear the checkbox next to the toolbar you want to hide.
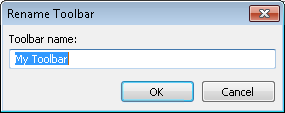
- Rename a toolbar: Select the toolbar you want to rename on the left, and click the Rename button. In the Rename Toolbar dialog box, type a new name for the toolbar and click OK. Note that you cannot rename the default Laserfiche toolbars: Menu, Toolbar, Navigation.
Note: A toolbar's name also appears when you click the blue bar to the right of the toolbar and point to Add or Remove Buttons.
- Delete a toolbar: Select the toolbar you want to delete on the left, and click the Delete button. Note that you cannot delete the default Laserfiche toolbars: Menu, Toolbar, Navigation.
- Reset a toolbar: Select the toolbar you want to reset on the left, and click the Reset button. Resetting a toolbar returns the toolbar to the configuration it had when the Laserfiche Client was first installed.
- Click Close.
Related Topics