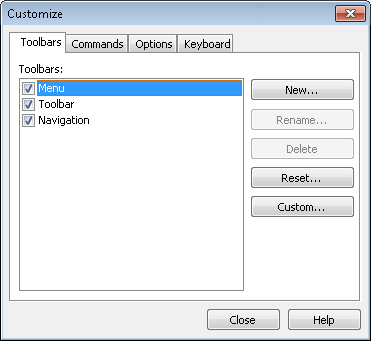
The ![]() Customize dialog box, accessed from the Toolbar node of the Options dialog box, lets you can create, rename, hide, delete, and reset toolbars; add and remove buttons from toolbars (see the Commands tab); configure the toolbars' appearances and options; and define keyboard shortcuts for toolbar buttons and menu items.
Customize dialog box, accessed from the Toolbar node of the Options dialog box, lets you can create, rename, hide, delete, and reset toolbars; add and remove buttons from toolbars (see the Commands tab); configure the toolbars' appearances and options; and define keyboard shortcuts for toolbar buttons and menu items.
The Toolbars tab lets you add, remove, or rename toolbars and create custom toolbar buttons. You can add custom toolbar buttons to the Document Viewer or Folder Browser that launch programs outside the Laserfiche client application. Adding custom buttons lets users quickly open a program, such as a custom SDK application, without leaving the Laserfiche client application.
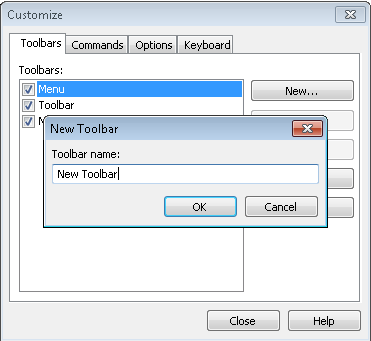
To modify your toolbars, click New to ![]() add a new toolbar. (New toolbars will be added to either the Folder Browser or Document Viewer, depending on which you accessed the Customize dialog box from.) Select a toolbar and click Rename to change its name or click Delete to permanently remove the toolbar. Clicking Reset will return the toolbar to its defaults.
add a new toolbar. (New toolbars will be added to either the Folder Browser or Document Viewer, depending on which you accessed the Customize dialog box from.) Select a toolbar and click Rename to change its name or click Delete to permanently remove the toolbar. Clicking Reset will return the toolbar to its defaults.
You can add or remove less common buttons from the Commands tab of the Customize dialog box. Learn how to add or remove toolbar buttons.
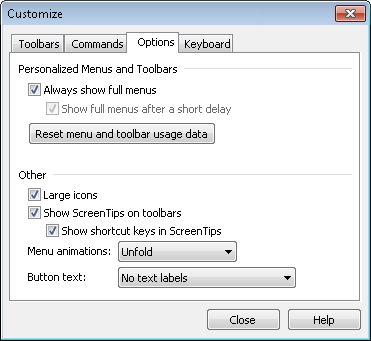
You can configure the look of the toolbar and toolbar buttons from the Options tab.
You can create custom keyboard shortcuts that let you quickly perform tasks without having to click a toolbar button or menu item. Learn how to create custom keyboard shortcuts.