Field Values
The  Field Values property box determines how the Assign Field Values activity assigns field data to a Laserfiche entry.
Note: Templates and fields can be created in the Laserfiche Administration Console.
Note: This property box is optional if you select to Unassign the current template or Assign the following template in the Template property box.
To configure the Field Values property box
- Add the Assign Field Values activity to your workflow definition by dragging it from the Toolbox Pane and dropping it in the Designer Pane.
- Select the activity in the Designer Pane.
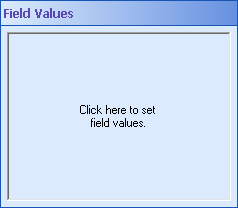
- In the Properties Pane, click anywhere in the Field Values property box to open the Edit Field Value dialog box and configure a new field.
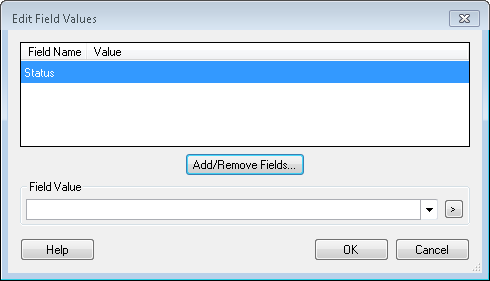
- Select Add/Remove Fields to open the Choose Fields dialog box to choose which fields you want to assign values to.
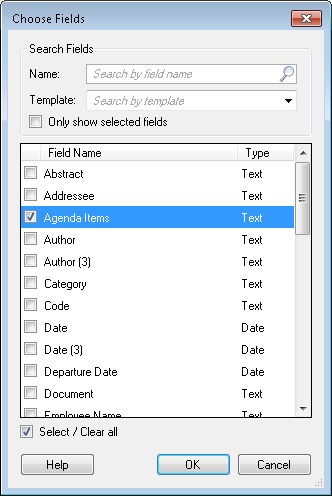
- Select fields from the list that you want to assign values to.
- Optional: To find a particular field or fields, narrow down the list of fields shown with the following options.
- Name: Begin typing a field name to look for fields by name.
- Template: Use the drop-down menu to display fields associated with a specific template.
- Optional: Select or clear all fields with the Select / Clear all checkbox at the bottom of the dialog box.
- Click OK.
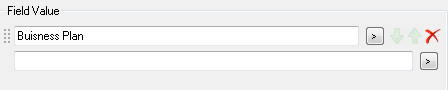
- In the Edit Field Values dialog box, under Field Value, enter the text to be added to the field. Click the Token button (right arrow)
 to use tokens.
- Optional: To update a field after making changes to it in the Laserfiche Administration Console, right-click the Field Name or Value in the Edit Field Values dialog box and select Refresh field definition.
- Optional: To remove a field from this activity, right-click the Field Name or Value in the Edit Field Values dialog box and select Remove selected field. Alternatively, you can selecting the field in the Edit Field Values dialog box and pressing DELETE on your keyboard, or you can click the Add/Remove Fields button and clear the boxes next to the fields you want to remove.
- Click OK.
 .
. .
. to change the order in which the field values will appear in the multi-value field.