Configuring Process Profiles
A process profile is a group of processes and image enhancements that can be manually applied to a single document during Revision. Process profiles can be either public or personal.
- Public Process Profile: accessible to any user working with that Quick Fields session.
- Personal Process Profile: only accessible to a particular user logged in to the Quick Fields session.
To configure a Process Profile
- The Profiles Pane is hidden by default. To display it, select Options from the Tools Menu. Under Quick Fields, select Advanced, then select the checkbox next to
 Show the Process Profiles pane.
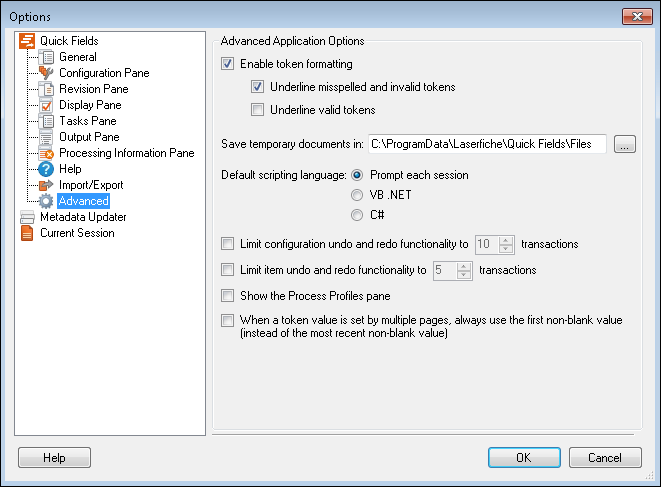
- Open the Profiles Pane. After configuring the option in step 1, this pane will be accessible from a tab at the bottom left corner of the window.
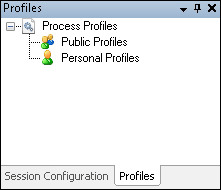
- Decide whether to create a public profile or a personal profile. Select the appropriate node.
- Right-click and select Add Profile. A new profile will appear.
- The best practice is to give the profile a name that conveys its function. To rename the profile, right-click and select Rename. Type a new name for the profile.
- Select the name of the profile and then select the processes or image enhancements you want from the Tasks Pane.
- Configure the processes or image enhancements.
- Optional: Test the processes or enhancements on any sample page from any document class. Click Samples on the Image Toolbar and a list of all the sample pages will be displayed. Select the one you want to test the processes or enhancements on.

Note: You will not be able to configure sample pages from the Samples menu when using Process Profiles. You will only be able to select sample pages that have already been configured for other document classes.
Note: To run or manage process profiles, you must have the appropriate permissions.