Installing Quick Fields and Quick Fields Agent
This section provides basic instructions for installing Laserfiche Quick Fields and Quick Fields Agent.
To install Laserfiche Quick Fields and/or Quick Fields Agent
-
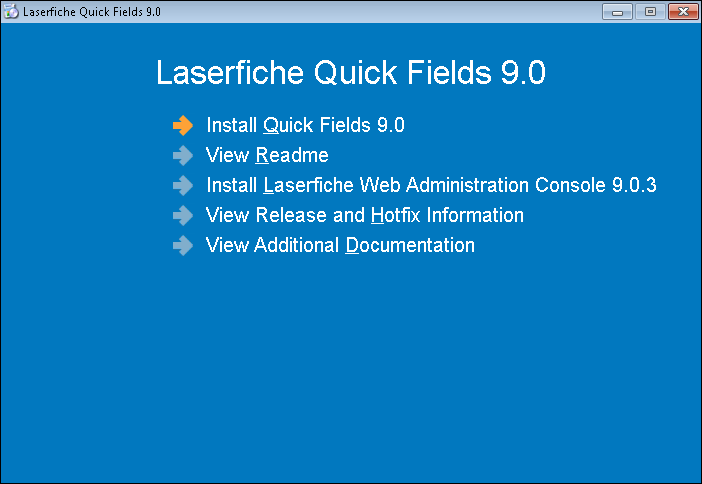
Insert the Laserfiche Quick Fields Installation disk into your computer. A menu displaying installation options should appear. If it does not appear, double-click Autorun.exe from the root folder of the Quick Fields Installation disc. Alternatively, if you downloaded Quick Fields from the Laserfiche Support Site, double-click Autorun.exe.
-
Click the
 Install Quick Fields option.
-
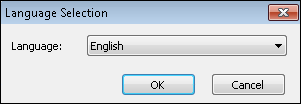
In the Language Selection step, select how you want the installation to be displayed. This language setting only affects how the installation is displayed.
- The Laserfiche Quick Fields setup will launch and the Welcome step will appear. Click Next to continue.
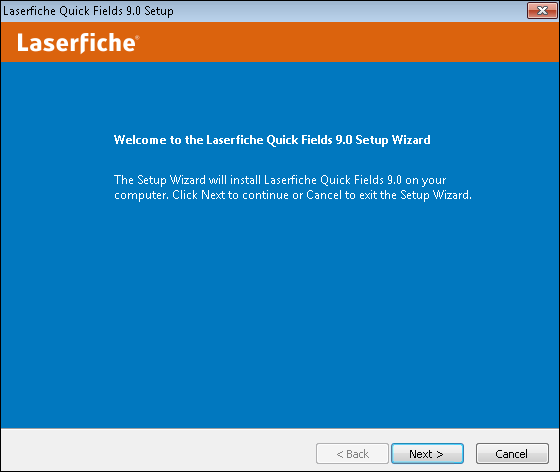
Note: The installation process will first install Microsoft .NET Framework 4.0 if it is not already installed.
- On the License Agreement step, read the license agreement. Accept it by selecting the I accept the terms in the License Agreement option. Click Next to continue.

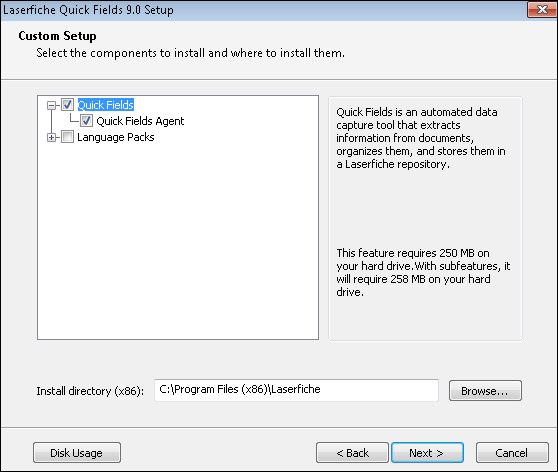
- On the Custom Setup step, select the features you want installed and where you want to install them under Install directory. You can install Quick Fields, Quick Fields Agent, and any language packs you want. Click Next to continue.
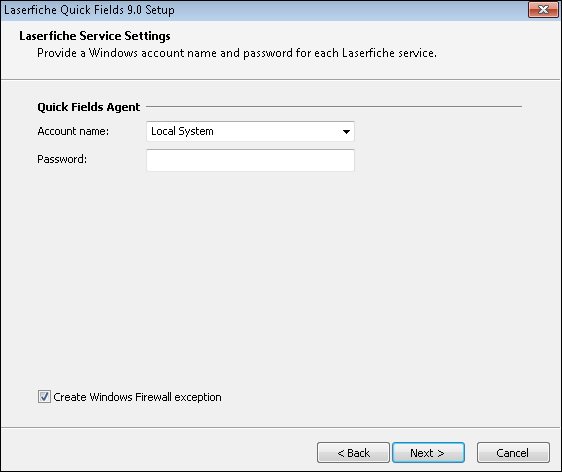
- If you selected Quick Fields Agent in the previous step, you will see the Laserfiche Service Settings step. On this step, configure the account the Quick Fields Agent service will run as. If Quick Fields Agent needs to have access to sessions or images on network drives, it should be run as a domain user. If the sessions are configured to log in to Laserfiche using Windows Authentication, the service should also log in as a domain user. If the session and files to scan are local, using a local system is account is sufficient.
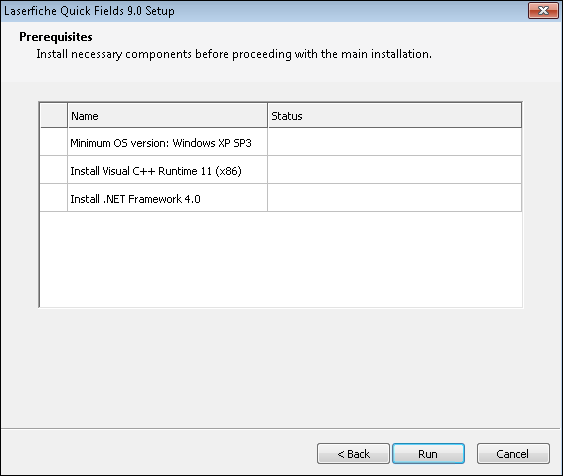
- The Prerequisites step checks to see if you have the necessary Quick Fields components installed on your machine: Windows XP SP3 or higher, Visual C++ Runtime 11, and .NET 4.0. If these components are not installed, they will be installed for you. Click Run to continue.
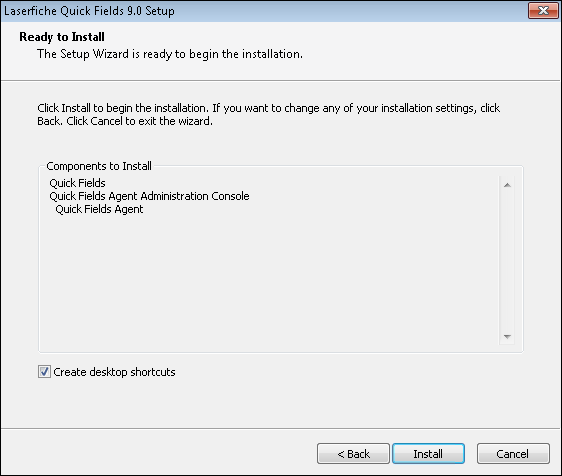
- On the Ready to Install step, select if you want software shortcuts created on your desktop and click Install to begin the installation process.
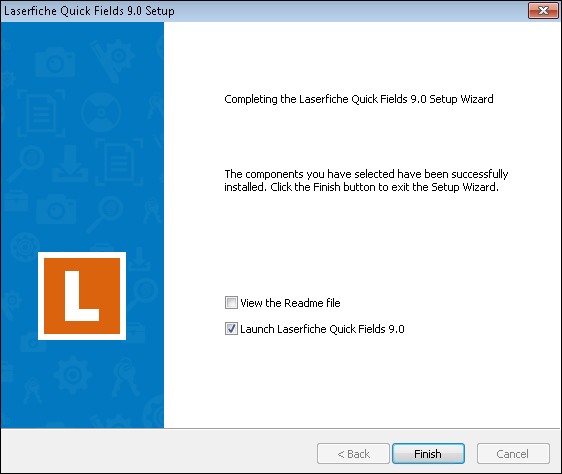
- On the Completing the Laserfiche Quick Fields Setup step, select if you want to view the Readme and/or launch Laserfiche Quick Fields. Click Finish to close the wizard.