Installing Barcode
The Laserfiche Barcode add-on is contained in an installation package separate from the main Laserfiche Quick Fields installation.
- If you have activated Quick Fields and the license contains the Barcode feature, the Barcode installation will not prompt for a license.
- If you have activated Quick Fields and the license does not contain the Barcode feature, the Barcode installation will terminate.
- If you have not activated Quick Fields yet, the Barcode installation will prompt you for a Quick Fields license and check it for the required feature. Providing the license for the Barcode install will automatically activate Quick Fields.
To install the Laserfiche Barcode Add-on
- Make sure that Laserfiche Quick Fields has been installed.
- Insert the Laserfiche Barcode Installation disk into your computer. A menu displaying installation options should appear. If it does not appear, double-click Autorun.exe from the root folder of the Laserfiche Barcode Installation disc. Alternatively, if you downloaded Laserfiche Barcode from the Laserfiche Support Site, double-click Autorun.exe.
-
Click the
 Install Laserfiche Quick Fields Barcode option.

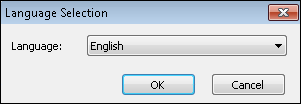
- In the Language Selection step, select how you want the installation to be displayed. This language setting only affects how the installation is displayed.
- The Welcome step will appear. Click Next to continue.

- On the End-User License Agreement step, read the license agreement. To accept the license agreement, select the I accept the terms in the License Agreement option and click Next to continue.

- On the Locate Product Activation step, activate Quick Fields which will activate Laserfiche Barcode. Provide an activation key, license file, or use the Laserfiche Rio License Manager. This step will be skipped if you have already activated Quick Fields.

- On the Ready to Install step, click Install to install Laserfiche Barcode.

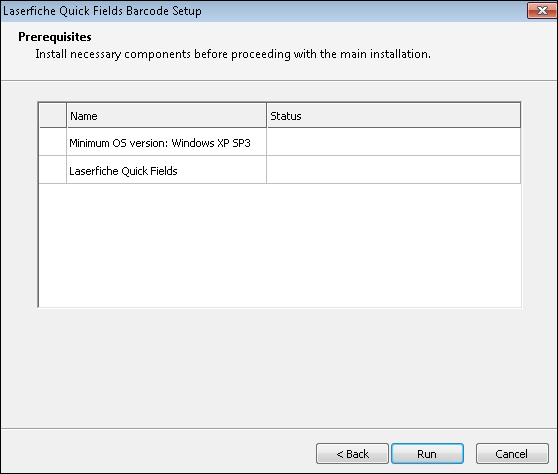
- The Prerequisites step checks to see if you have the necessary Barcode components installed on your machine: Windows XP SP3 or higher and Quick Fields. If these components are not installed, they will be installed for you. Click Run to continue.
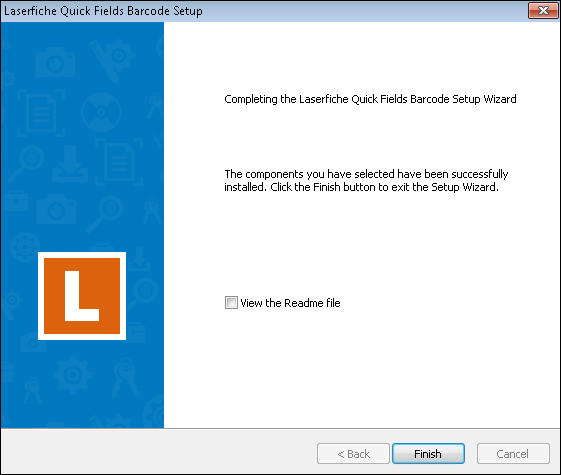
-
On the Completing the Laserfiche Quick Fields Barcode Setup step, select if you want to view the Readme. Click Finish to close the wizard.