Signing a Document
The Laserfiche app lets you sign a new document using an electronic signature and an existing repository document using a digital signature.
An electronic signature refers to the acknowledgment of an electronic message, transaction or document. For example, a typed name at the end of an email, or in this case, a handwritten but digitally captured signature made on a touch device.
A digital signature is more secure and includes a certificate of authority, such as a Windows certificate, to ensure the validity of the signature's author. It provides a method for indicating that a document is authentic, has been signed by a particular person, and has not been modified since the signature was applied.
Digital signatures can be used in a variety of ways. For instance, a manager might use a digital signature to indicate they have approved a document; validating the digital signature would verify that it is indeed that person who approved the document, and that the document has not been further modified since its approval. Alternately, a user might sign documents after importing them to indicate the import process is complete and all relevant information has been included, and that signature could be validated to see whether changes have been made to the document since its import. For information on distributing certificates for digital signatures, see the Distributing Digital Signatures topic.
Note: A digital signature in Laserfiche signs the document's electronic document content, page images, signature comments, and signing images. It does not sign page text, metadata, or annotations. Page text, metadata and annotations can be modified without invalidating the signature; electronic document contents, page images, and signature details cannot.
- Create a new document by taking a picture, selecting one from the gallery, or attaching one to a form.
- A preview of the picture will be displayed. Press the Signature
 button and a Signature dialog will appear.
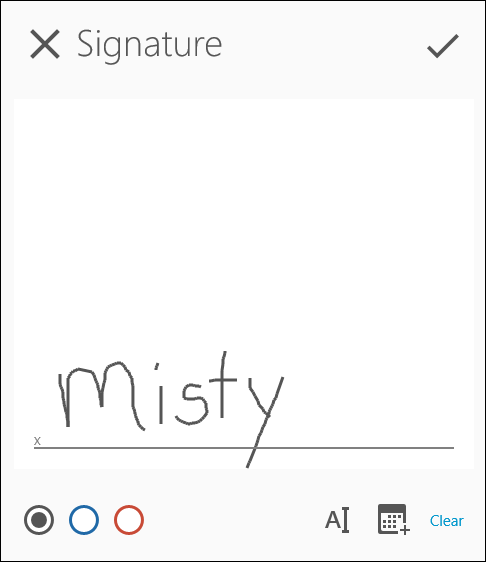
 - Press black, blue, or red to choose a color you want to sign with.
- Do one of the following:
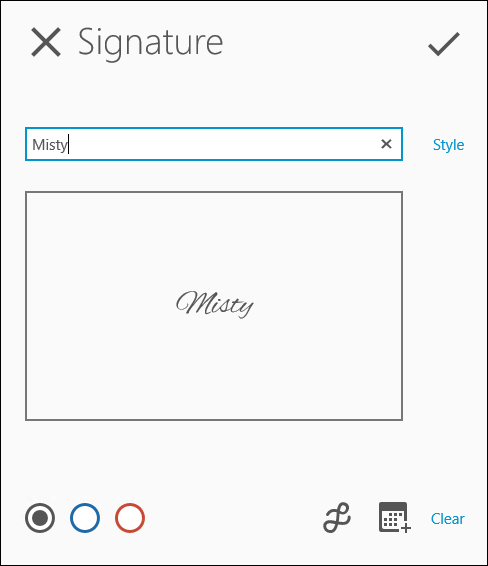
- To apply a typed signature, press the Type button
 at the bottom and enter your name in the top box. Press the Style
 .
.
- To add a date to the signature, press the Date button
 at the bottom, select the desired date, then press Set.
 - To redo the signature, press
- When finished, press the check mark at the top right.
- A preview of the image with the signature and/or date will appear (with the signature selected). You can move the signature and/or date around and resize it with a

- To remove the signature or drawing, press the Delete
 button. To add another signature or drawing, press the Signature
 button and repeat steps 2-5. When finished, press the check mark at the bottom right. Press the X to cancel the signature or drawing.
To sign a document with a digital signature, you must specify a signing certificate that you will use to sign the document.
If using the Windows app, the signing certificates in your device's personal certificate store will be available for import. If you have multiple signing certificates, you can choose the one you want to use. If you do not have a signing certificate available, or want to use another signing certificate, contact your administrator.
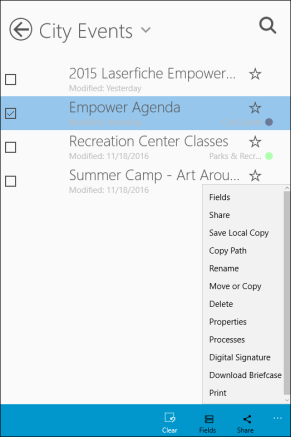
- In the Folder Browser, press Select in the app bar at the bottom and select the checkbox next to the document you want to sign.
- Press the ellipsis in the bottom bar and select Digital Signature. Or, if using a mouse, right click the document and press Digital Signature.
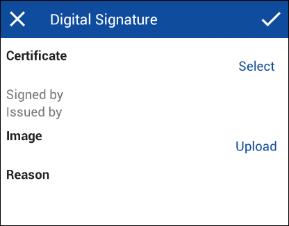
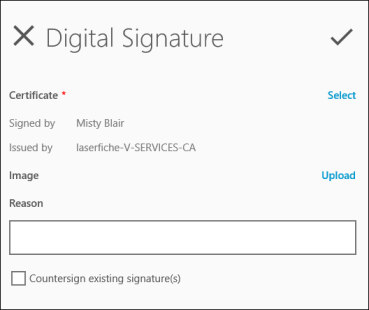
- On the Digital Signature page, next to Certificate, press Select.
- Select the desired certificate.
- Next to Image, press Upload to choose an item to represent your digital signature. You can manually sign the document (using your finger or stylus), upload an existing image from your device, or take a new picture. You can also press Remove to remove or change the item representing your digital signature.
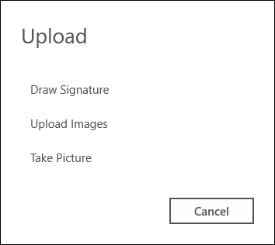
- Draw Signature: Pick a color (black, blue, or red), and use your finger or stylus to draw a sketch or sign your name above the line. Or, you can press the Type
 button to type your name. Press Style to choose a style for your signature. Press the Draw
  button to change back to drawing mode. Press Clear to clear the signature.
 - Upload Images: Press Upload Images and choose an image from your device's photo gallery to represent your digital signature.
- Take Picture: Press Take Picture to take a picture and use it as your digital signature.
- Draw Signature: Pick a color (black, blue, or red), and use your finger or stylus to draw a sketch or sign your name above the line. Or, you can press the Type
- Next to Reason, type a reason for the digital signature.
- When finished, press the check mark in the top right corner. To cancel the digital signature, press the X at the top left.
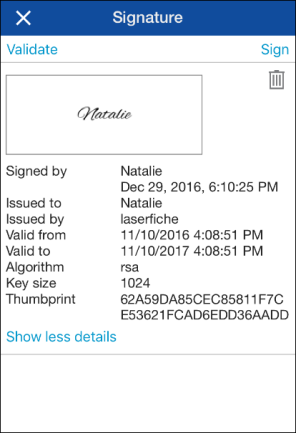
You can view a document's digital signatures. You will see who signed it, the date and time it was signed, it's validation period, countersigners, and more.
- Open the document and press the
- Press Digital Signature.
- Press Show more details to see more information about the signature. Press Show less details to minimize the details. Press the Delete
 button to remove the digital signature.
You can countersign the existing signatures on a document. This will apply your signature to their signatures. Your countersignature will only be valid if the signatures it signs are also valid. If signatures have been applied to prior versions, the countersignature will not sign those versions; it will only countersign signatures on the latest version.
Countersigning a document can be used to provide additional authority for a signature or signal approval for another user's approval. For example, a manager might choose to countersign a document to verify that they have approved their employee's signing the document.
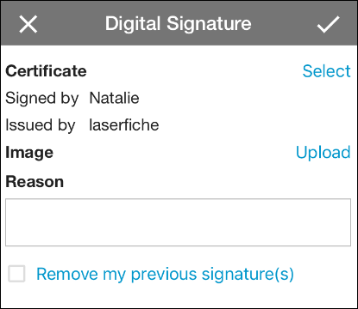
- Follow the instructions above to sign a document using a digital signature. On the Digital Signature page, add a certificate.
- Options will appear to Countersign the existing signature(s) or Remove the previous signature(s). Select the option you want and press the check mark at the top right when finished.
When a document has been signed, you can validate the signatures on the document. Validating a signature determines that the document content has not been modified since it was signed, that the certificate can resolve to a trusted root authority, and that the certificate chain does not have any revoked members. If all of these things are true, the signature will be listed as valid; if not, the signature will be listed as invalid.
Countersignatures of existing signatures can also be validated. In addition to the criteria listed above for all signatures, countersignatures will only be listed as valid if the signatures that they countersign are also valid.
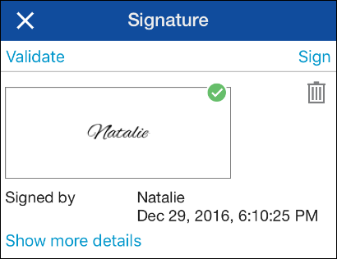
- Open the document and view its digital signatures.
- Press Validate at the top.
- If the signatures successfully validate, a check mark will appear at the top right of each digital signature image.
| For further help or feedback, please see the Laserfiche Support Site. | © 2019 Laserfiche. All Rights Reserved. |