Modifying and Storing Scanned Documents
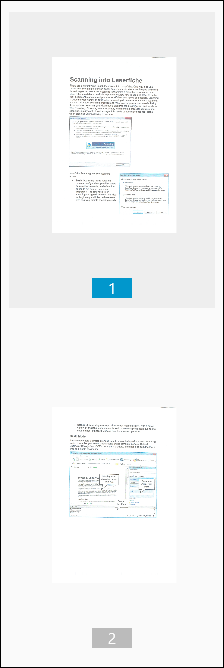
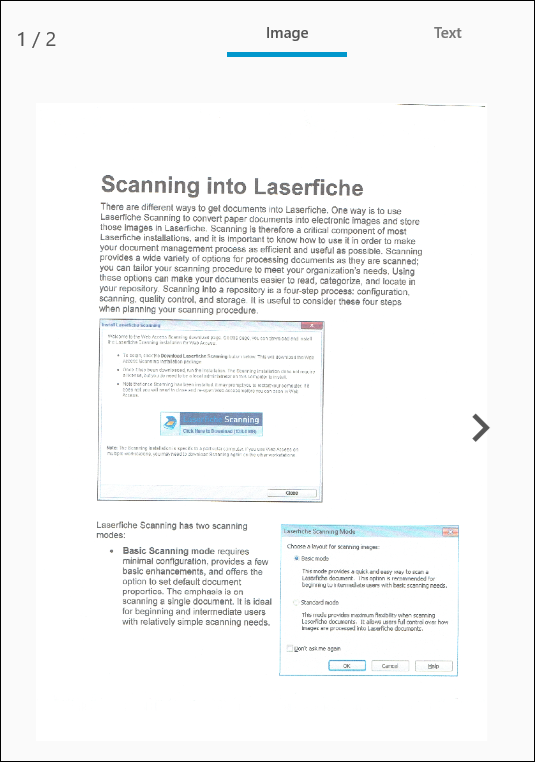
Once your document is scanned, you will see a preview of the document's image in the Image Pane on the right and thumbnails of its pages in the Thumbnails Pane on the left.
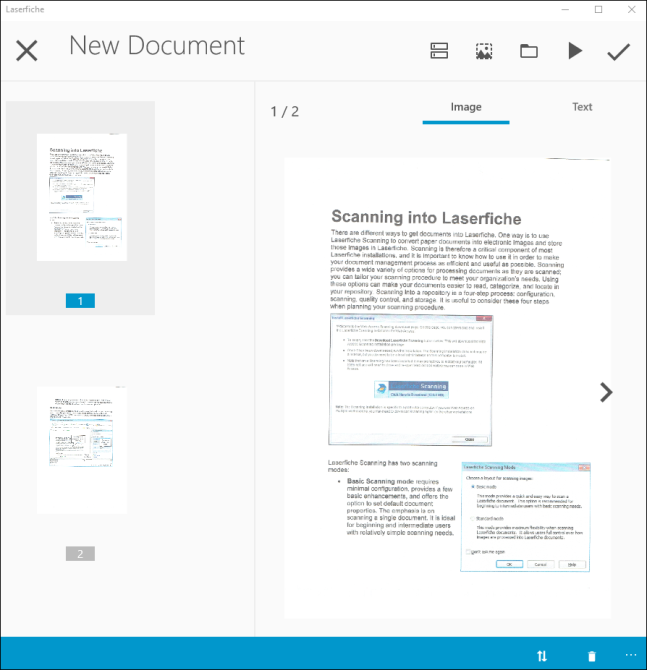
Press a thumbnail to view that page in the Image Pane.
Press the left and right arrows to navigate the document's pages.
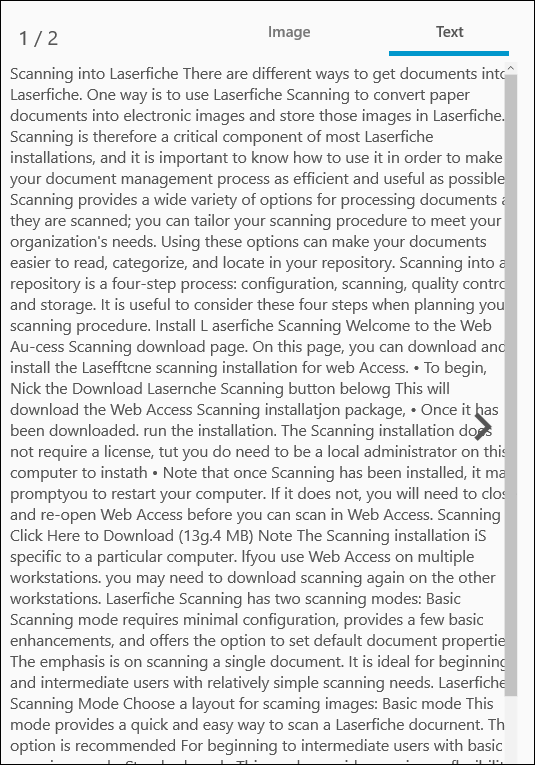
If you select to OCR the scanned image now (under Image Processing), you will see the document's text in the Text Pane. Press the left and right arrows to navigate the document's text pages.
Metadata is information about your document. You can name and add a template and/or fields to your document.
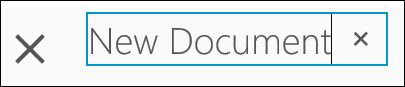
- At the top, click on the New Document text, delete it by clicking the X to the right of the text box, and type a name for the document. Clicking away from the document name and on another item in the application (e.g., a thumbnail) will save the document name.
- Press the Metadata button
 at the top to add or modify the document's template and/or fields.
 - Press the drop-down menu under Template to assign a template and enter field values.
- Press Add/Remove Fields to add fields and their values to the document.
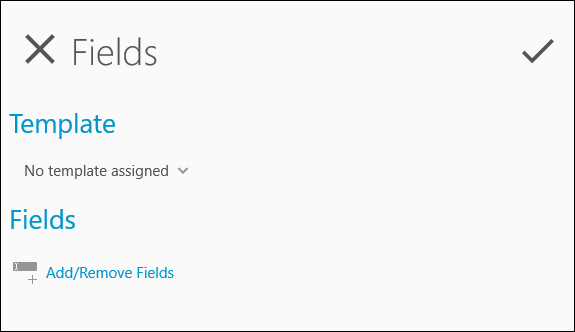
- When finished, press the check mark in the top right. To cancel your changes, press the (X) in the top left.
You can use the image processing options to optimize your document.
- Press the Image Processing button
 at the top of the page.
 - Press the radio button next to Apply to all images if the processing should be applied to every page in the document. Press the radio button next to Apply to current image if the processing should only be applied to the page displayed in the Image Pane.
- Under Rotate, press
- None if all the pages are the correct orientation.
- Auto if you want the correct orientation automatically detected and performed.
- Flip if you want the image(s) horizontally flipped (rotated 180 degrees).
- Left if you want the image(s) rotated 90 degrees to the left.
- Right if you want the image(s) rotated 90 degrees to the right.
- To undo any rotations, press None. When finished, press Apply at the bottom of the page.
- Under Crop, press
- None if you do not want to crop the image.
- Crop to frame and crop the image. Cropping handles will appear. You can manually edit the framed area by dragging the cropping handles. Cropping will reduce the document's size.
- To undo the crop, press None. When finished, press Apply at the bottom of the page.
Note: Cropping can only be applied one page at a time, regardless if the Apply to all images option is selected.
- Under Color, press
- None if the color of the image(s) should not be changed.
- Gray if the image(s) should be converted to grayscale.
- B & W if the image(s) should be converted to black and white.
- To undo color changes, press None. When finished, press Apply at the bottom of the page.
- Under OCR, press
- None if you do not want text generated from the image(s).
- OCR now if you want text generated from the image(s) immediately inside the scanning app. Once you click Apply, clicking Text at the top will display the generated text of the image(s).
- OCR later if you want text generated from the image(s) when they are stored to Laserfiche.
- Select the language you want the text generated in.
Note: You will not be able to OCR when scanning documents offline. The OCR option will be hidden.
- When finished with the image processing, press Apply at the bottom of the page. To remove all image processing, press Discard at the bottom of the page.
- To delete the selected page, press the Delete button
 in the app bar at the bottom.
 - To move the selected page, press the Reorder button
 in the app bar at the bottom. Type the new page number for the selected page, and press OK.
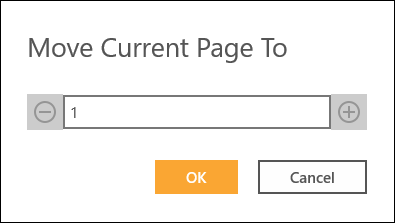
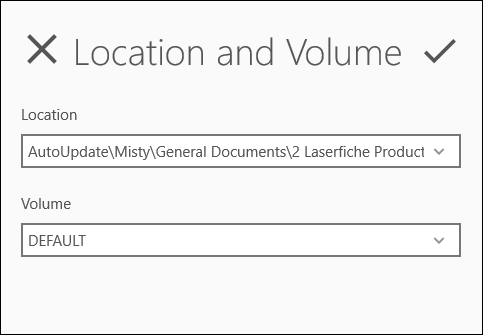
You can save the document some place other than where you navigated initially.
- Press the Folder button
 at the top of the page.
 - Use the drop-down menu under Location to navigate to a new location in the repository.
- Use the drop-down menu under Volume to choose a volume.
- When finished, press the check mark in the top right. To cancel your changes, press the (X) in the top left.
Once you have scanned a document, named it, added metadata to it, defined its repository location, and added image processing to it, click the check mark in the top right corner of the page to send the document to Laserfiche. Any text generated in the scanning app will be sent with the document to Laserfiche.
| For further help or feedback, please see the Laserfiche Support Site. | © 2019 Laserfiche. All Rights Reserved. |