Smoothing (Standard)
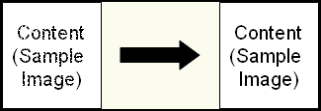
This image enhancement grows, shrinks, and/or smooths pixels.
Using Smooth
- Select the Image Processing node in the Scanning Explorer Pane.
- Select Smooth in the Document Properties Pane.
- In the configuration wizard, specify the
 pages this enhancement will be applied to.
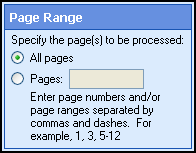
- Select Next: Grow.
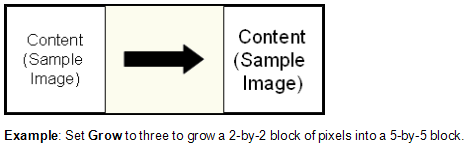
- Specify the amount (in pixels) that will be added to each black pixel on
the image. Show me an example.

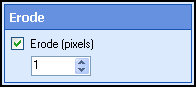
- Select Next: Erode.
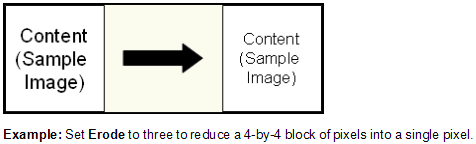
- Specify the amount (in pixels) that will be removed from each black pixel
on the image. Characters may break up if you specify
too large of a value. Show me an example.
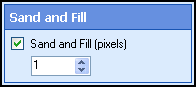
- Select Next: Sand and Fill.
- Specify the amount (in pixels) by which pits and bumps on a character
should be smoothed. This feature performs best with values between one and
five (with the exception of large type sizes). Show me an example.
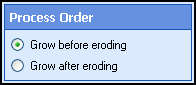
- Select Next: Process Order.
- Specify the order in which Grow
and Erode should occur. Processing Grow before Erode
will transform dot-matrix characters into laser printer quality characters.
Processing Erode
before Grow allows the removal
of thin lines that intersect one another.
- Click Finish.
-
Optional: To preview how this enhancement will affect scanned images, select Test Process.
Tip: For the best results, add a custom sample image before testing.